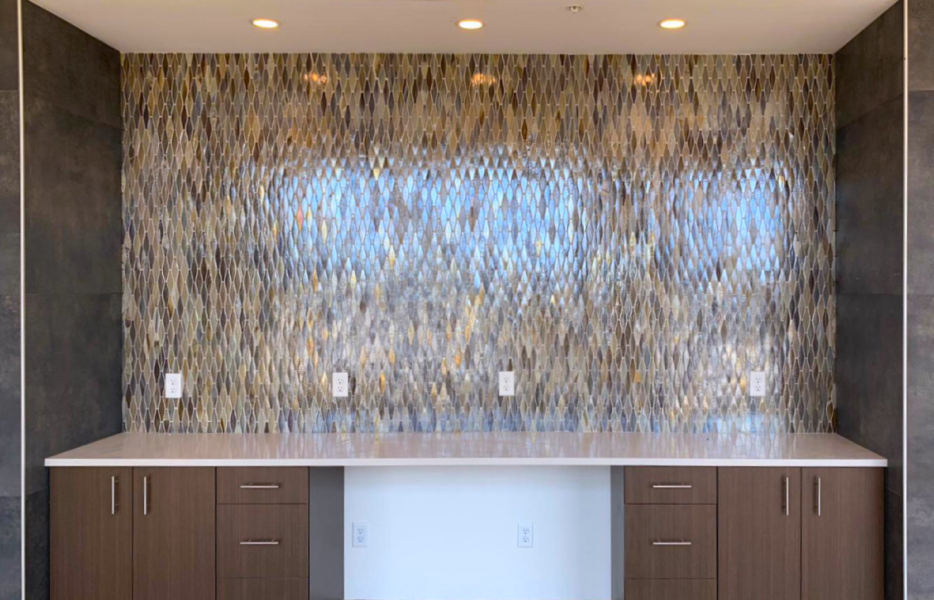
Are you ready to transform your space with the elegance and durability of tile? If so, a well-executed tile installation can breathe new life into your home or workplace.
However, achieving that flawless, magazine-worthy finish demands more than just enthusiasm—it demands precision, expertise, and a good dose of know-how.
Preparing for Success: The Foundation
Before you pick up your first tile, you need to ensure that your surface is prepped and primed for installation. First and foremost, your surface must be clean, level, and free of any debris or imperfections. Moreover, a flat surface is essential for a seamless tile installation.
When it comes to the proper substrate, you have options. For floors, cement backer board is usually recommended, while drywall is suitable for walls.
Selecting the Right Tiles: Aesthetic Appeal and Practicality
The world of tiles is vast and diverse, offering a wide range of materials, sizes, and styles to choose from. Here are some popular options:
- Ceramic Tiles: These are versatile, easy to clean, and come in various designs, making them ideal for both residential and commercial projects.
- Porcelain Tiles: Known for their strength and durability, porcelain tiles are perfect for high-traffic areas and outdoor use.
- Natural Stone Tiles: If you’re after a touch of elegance, natural stone tiles like marble or travertine can elevate your space.
Tools of the Trade
To achieve a professional finish, you’ll need the right tools:
- Tile Cutter: For precise tile cutting.
- Notched Trowel: To spread adhesive evenly.
- Spacers: To maintain uniform gaps between tiles.
The Art of Installation: Precision and Patience
To achieve a professional finish, it’s crucial to have the right tools on hand. These include a tile cutter for precise tile cutting, a notched trowel for even adhesive application, and spacers to maintain uniform gaps between tiles.
- Layout: Plan the tile layout carefully to ensure that you don’t end up with tiny slivers of tile at the edges.
- Adhesive Application: Apply adhesive using a notched trowel, ensuring even coverage.
- Tile Placement: Press each tile firmly into the adhesive, using spacers to maintain uniform gaps.
- Grouting: Once the adhesive has set, remove spacers and grout the gaps between tiles. Choose a grout color that complements your tiles.
- Cleaning: Wipe off excess grout immediately to prevent it from drying on the tile surface.
- Sealing (if necessary): Some tiles, like natural stone, may require sealing to prevent staining.
The Finishing Touches: Completing the Look
The last steps involve adding the finishing touches to your project:
- Use trim tiles or bullnose tiles to finish the edges cleanly.
- After the grout has cured, give your tiles a final clean to remove any residue.
- Finally, step back and admire your handiwork. Your perfectly installed tiles have transformed your space!
Why Choose CART Construction for Tile Installation?
At CART Construction, we’re more than just tile installers. With more than 10 years of experience in the industry, we bring expertise, precision, and a passion for quality to every project. Our commitment to excellence has earned us A+ at BBB Rating & Accreditation, making us your trusted partner in tile installation.
When you choose us, you’re not just getting a tile installation; you’re getting a work of art that will stand the test of time. Contact us today to discuss your project and let us turn your tile dreams into reality.
Stay tuned for more tile inspiration from us!


